

This guide explains how to add your FTP account as a media source in Kodi.
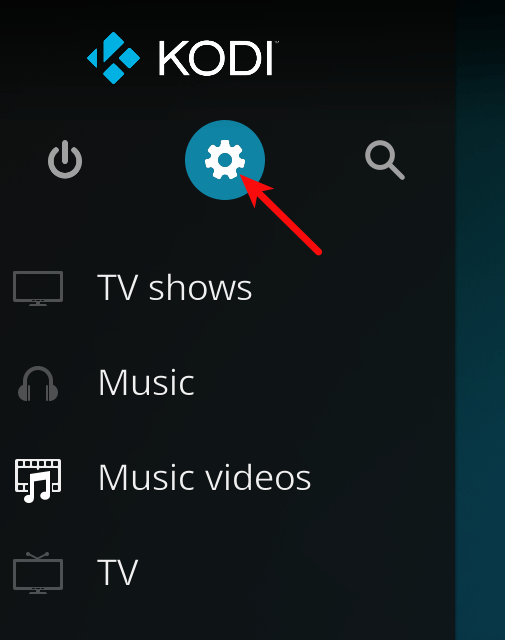
Step 1 – Open Kodi Settings
Start the Kodi application on your device and open Settings.
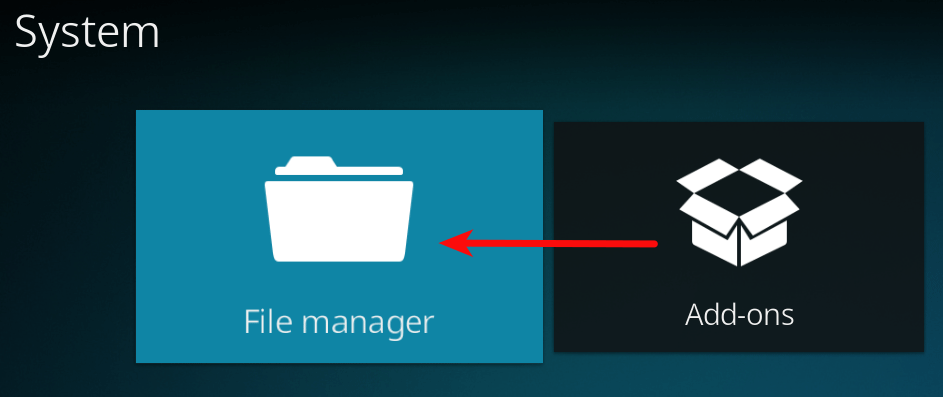
Step 2 – Open File Manager
Go to File Manager.
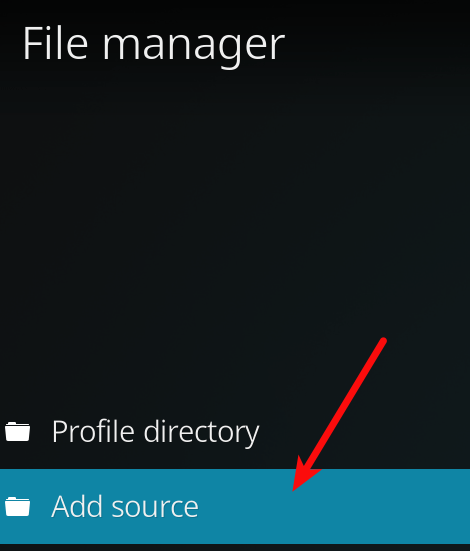
Step 3 – Add a Source
Click Add source.
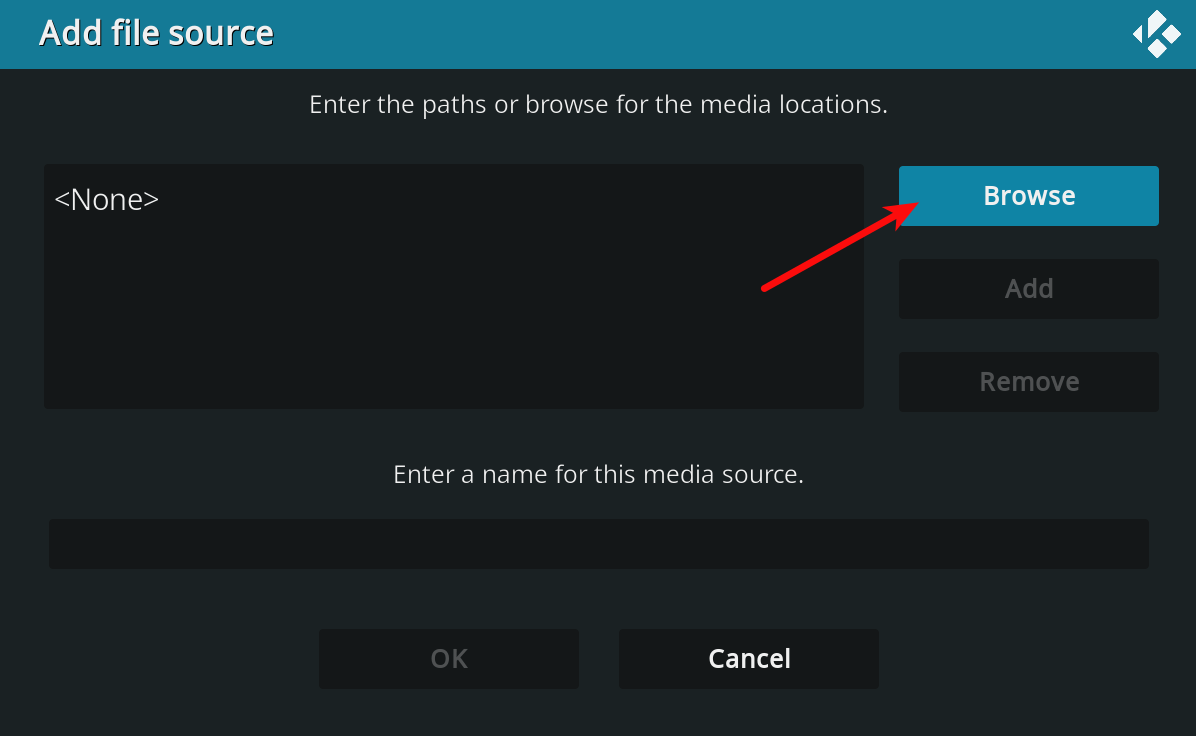
Step 4 – Browse for a Network Location
Click Browse.
Step 5 – Add a Network Location
Click Add network location... and then click OK.
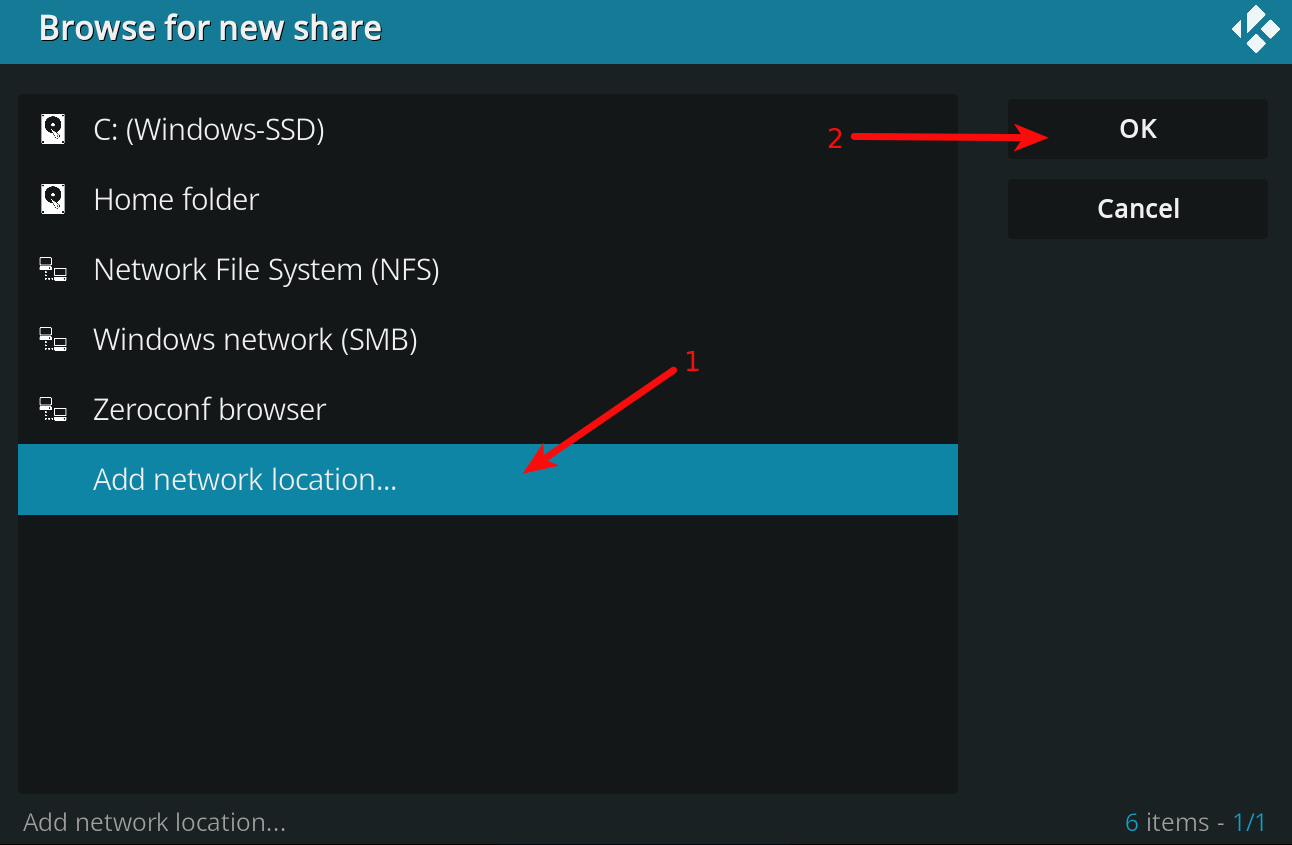
Step 6 – Configure the FTP Connection
Configure the connection using the following settings:
- Protocol – FTP server
- Server address – your server hostname
- Port – 21
- Username – your FTP username
- Password – your FTP password
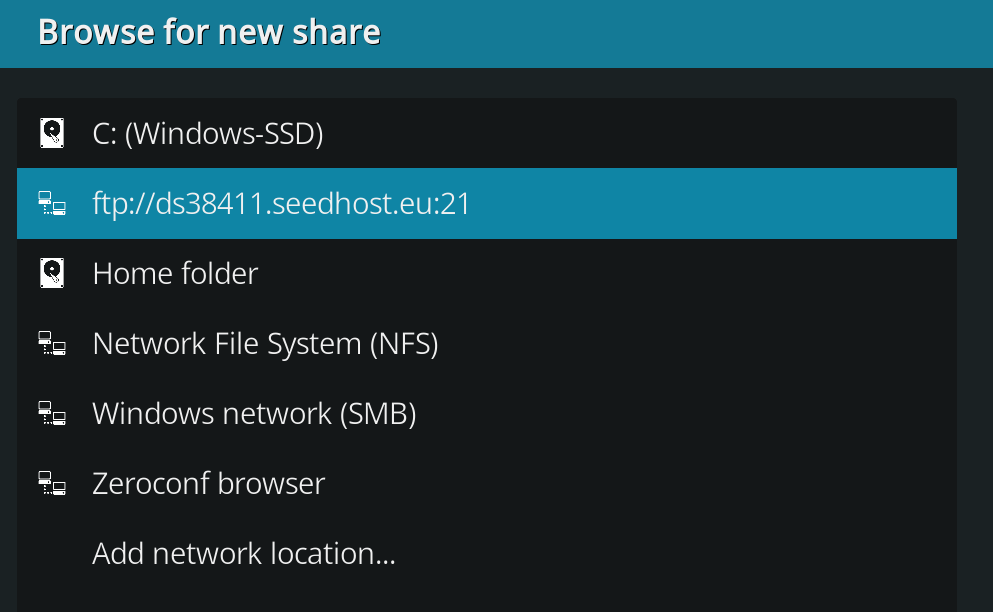
Click OK. Your configuration should look similar to the example below.
Step 7 – Add Your Media Library
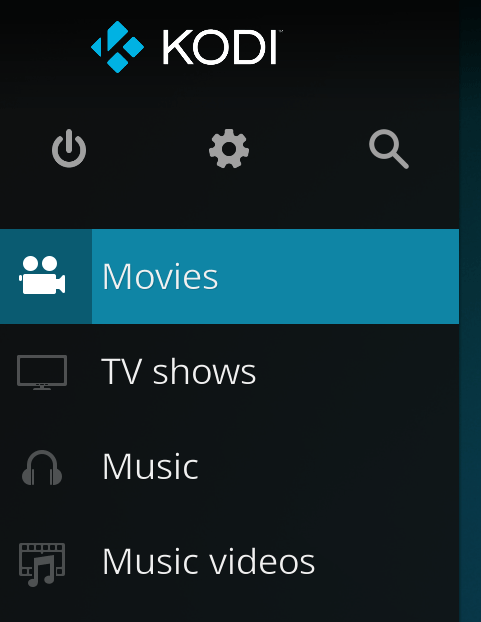
Return to the Kodi main menu. In this example, we will add a Movies library.
Step 8 – Add Videos
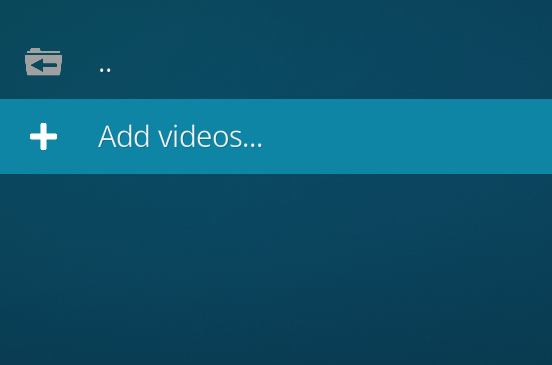
Click Add videos.
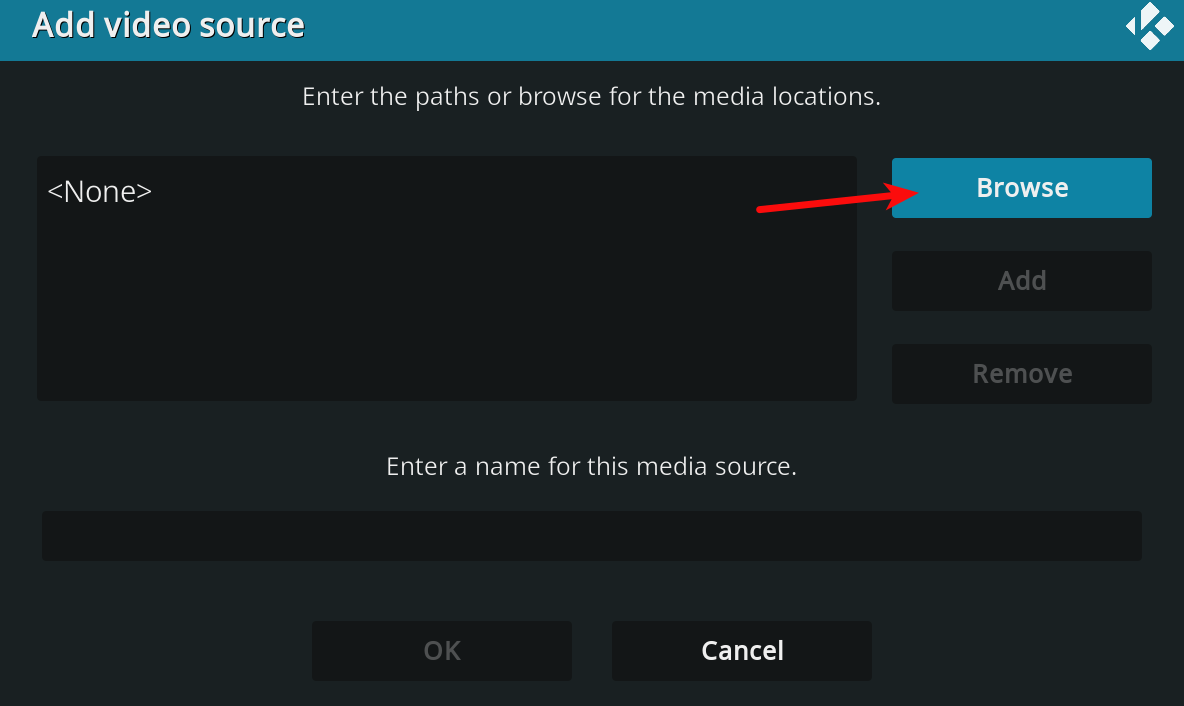
Step 9 – Browse for the Source
Click Browse.
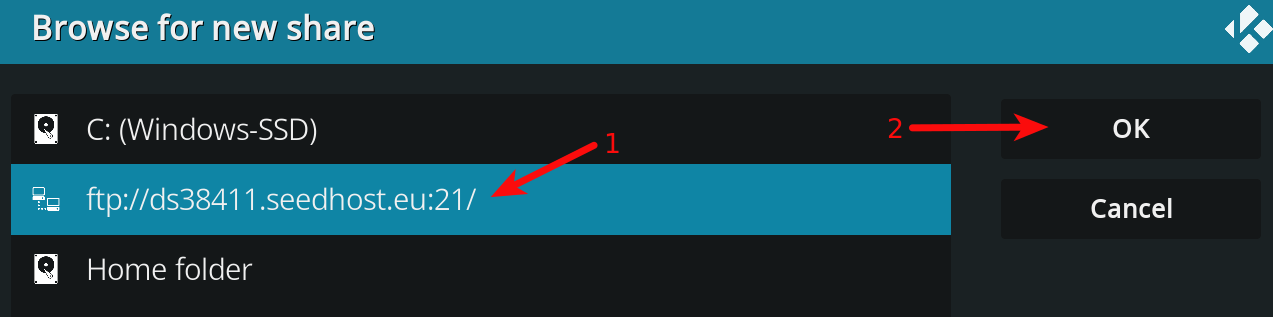
Step 10 – Select the FTP Source
Select your FTP source from the list and click OK.
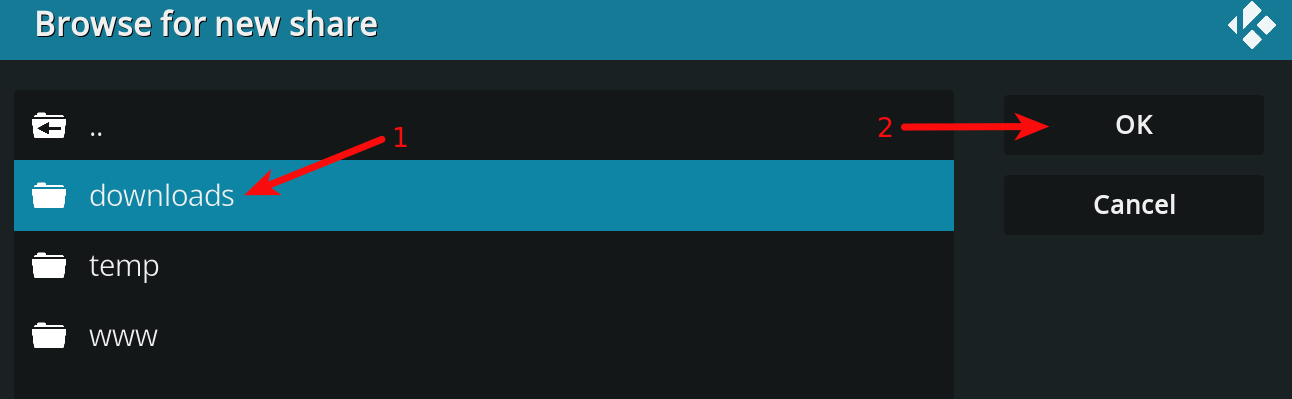
Step 11 – Select the Media Folder
Choose the folder that contains your media files and click OK.
Step 12 – Confirm the Source
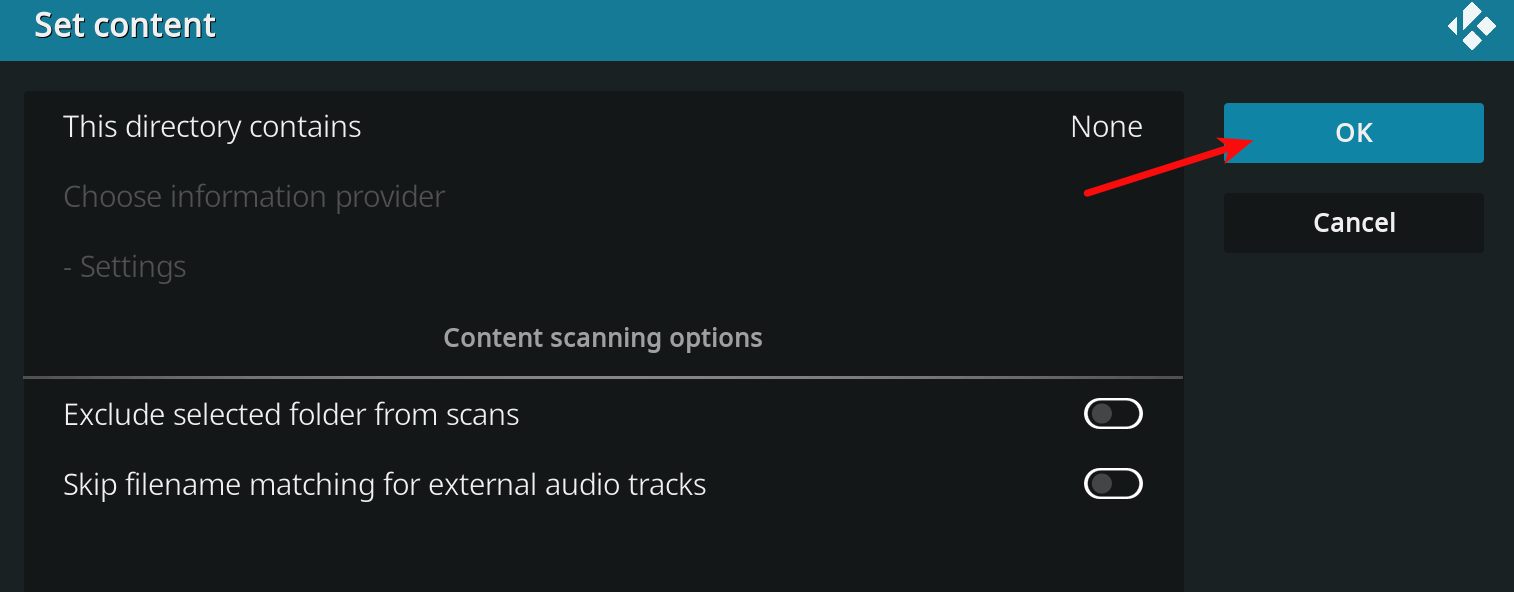
Click OK.
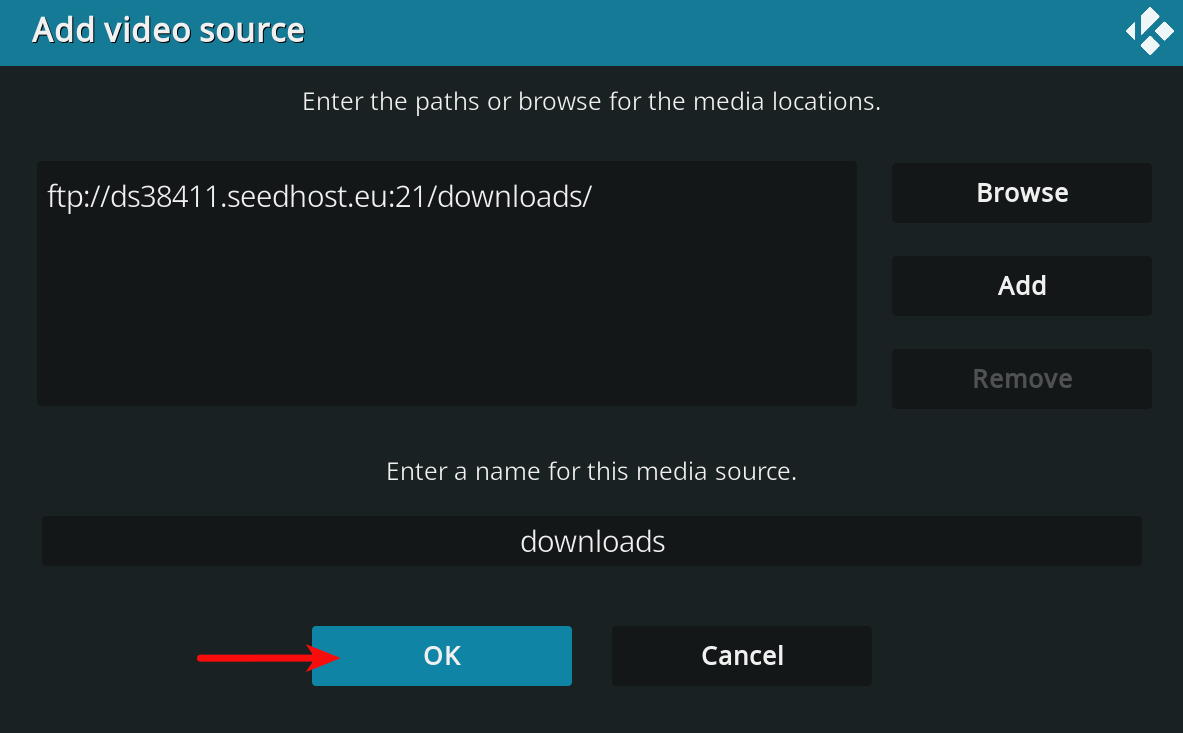
Step 13 – Finish the Setup
Click OK once again to finish adding the media source.
Done
Your FTP media library has now been added successfully.
You can return to the Kodi main menu and open Movies to browse and watch your media collection.
