Linux/Ubuntu
1. Download any clientX.conf file to your device, for example client1.conf.
2. Install the packages required:
sudo apt install wireguard resolvconf
3. Now move configuration file to /etc/wireguard folder:
sudo mv ~/client1.conf /etc/wireguard/
4. Start Wireguard with client1.conf configuration file:
sudo wg-quick up client1
To stop wireguard use the command below:
sudo wg-quick down client1
MacOS
1. Download any clientX.conf file to your device, for example client1.conf.
2. Install Wireguard app from App Store.
3. Start Wireguard App.
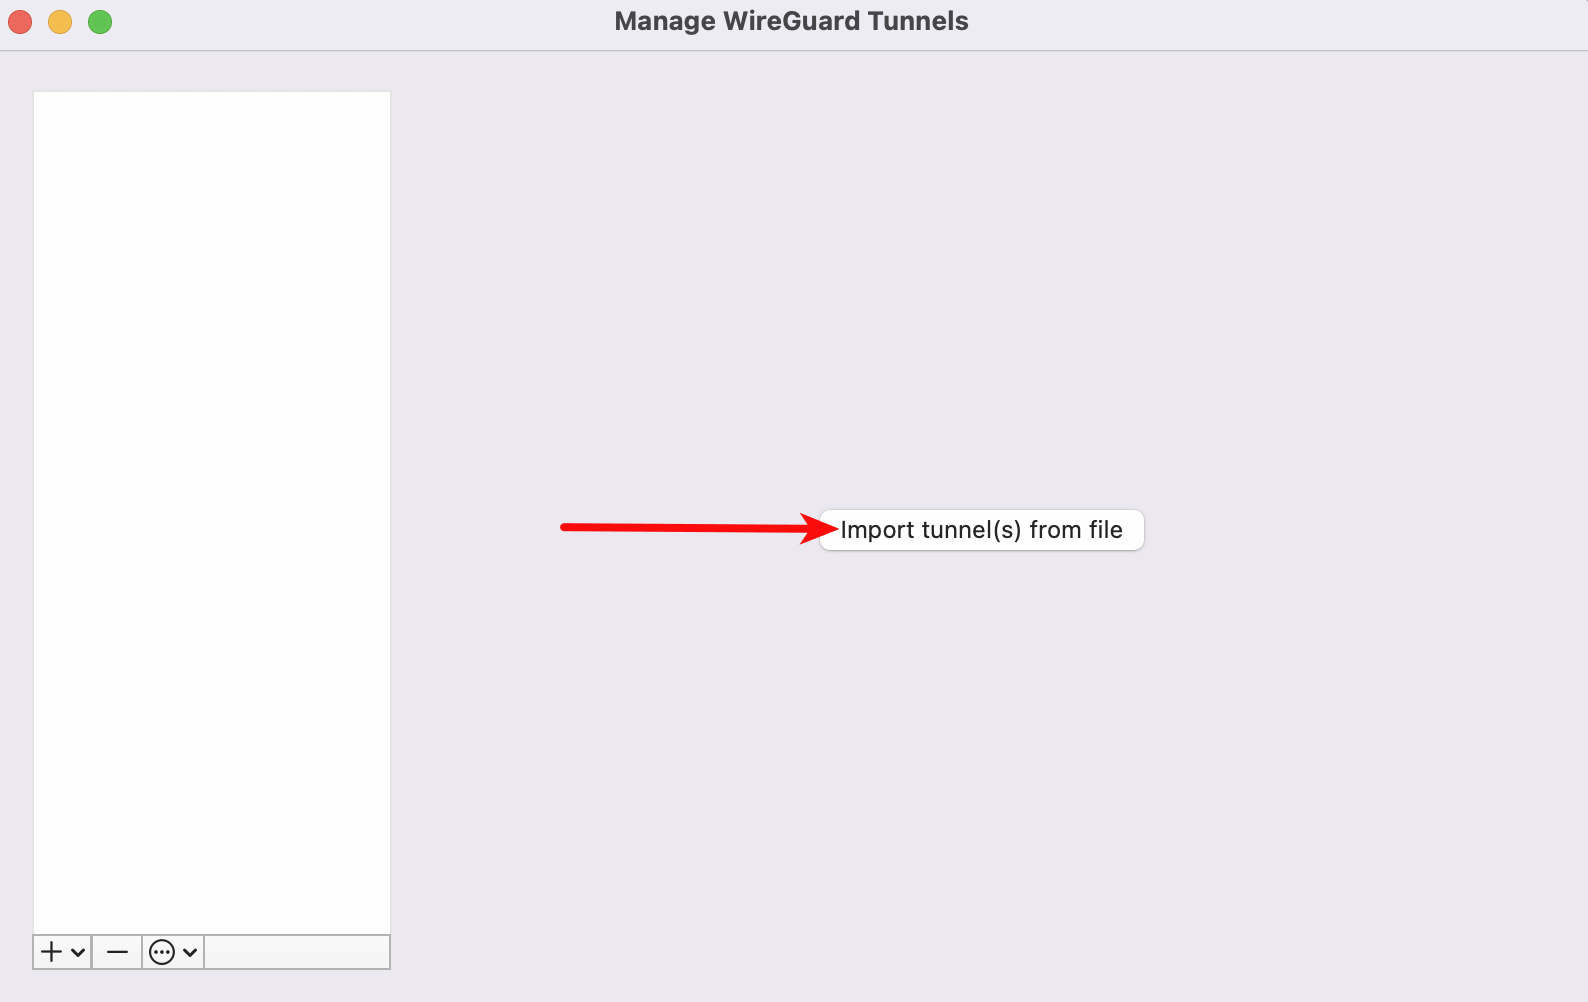
4 Click Import tunnel(s) from file and point to downloaded client1.conf file.

Windows
1. Download any clientX.conf file to your device, for example client1.conf.
2. Download Windows Wireguard installed from here .
3. Start Wireguard.
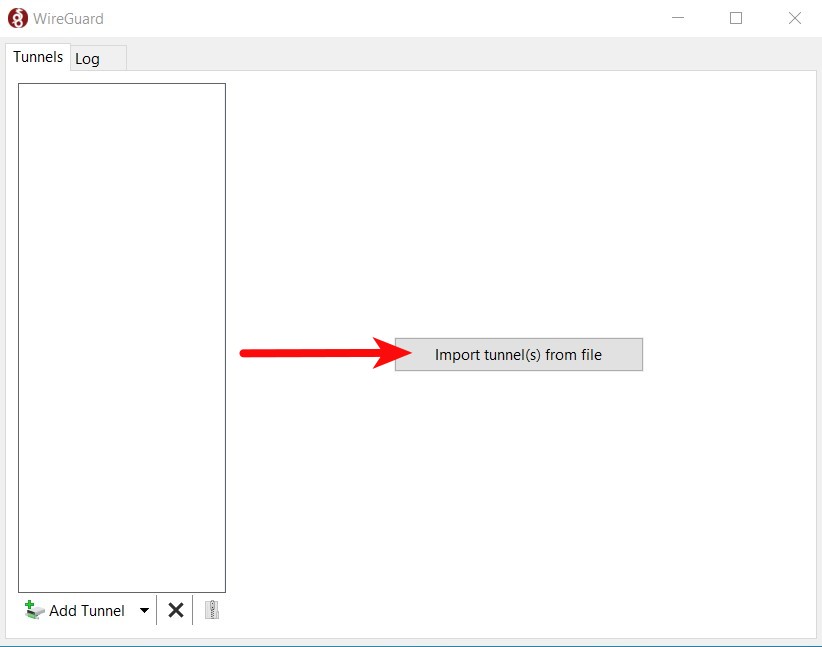
4. Click Import tinnel(s) from file and point to downloaded client1.conf file.

Android
1. Download any clientX.conf file to your device, for example client1.conf.
2. Install Wireguard app from Google Play Store.
3. Start Wireguard App.
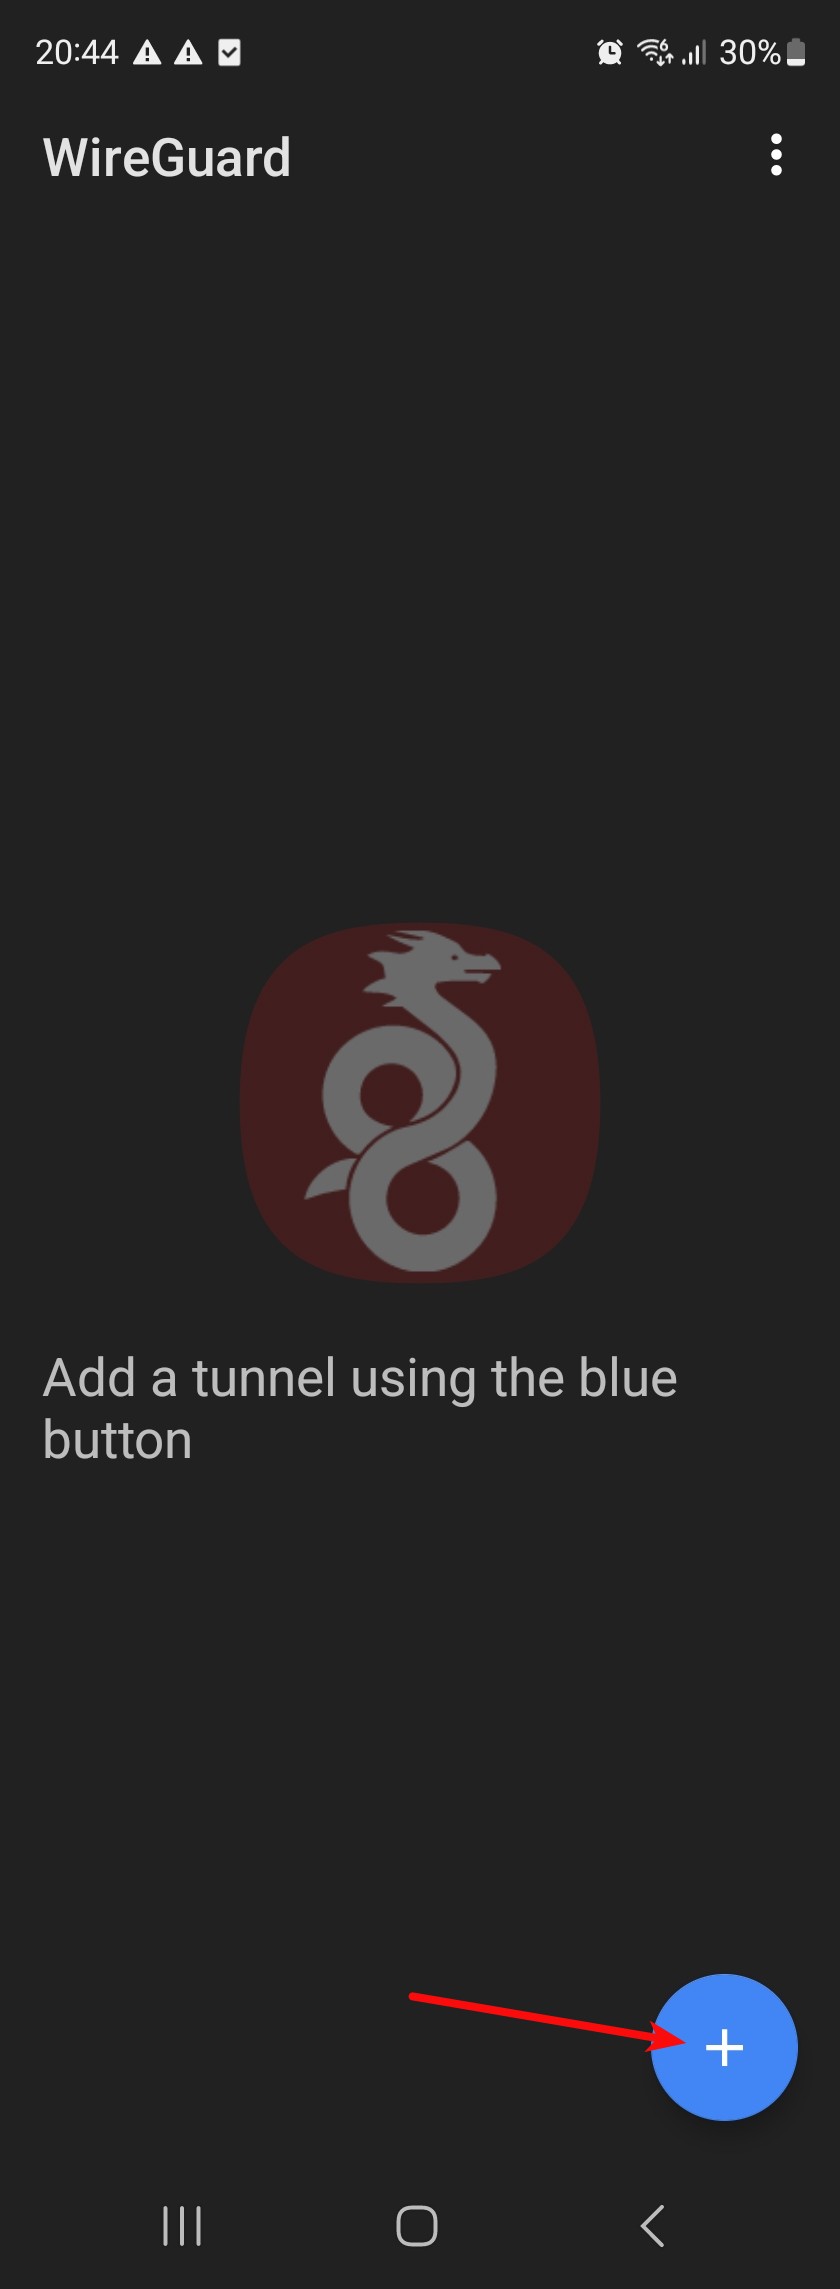
4 Click + button and point to downloaded client1.conf file.

iOS
1. Download any clientX.conf file to your device, for example client1.conf.
2. Install Wireguard app from App Store.
3. Start Wireguard App.
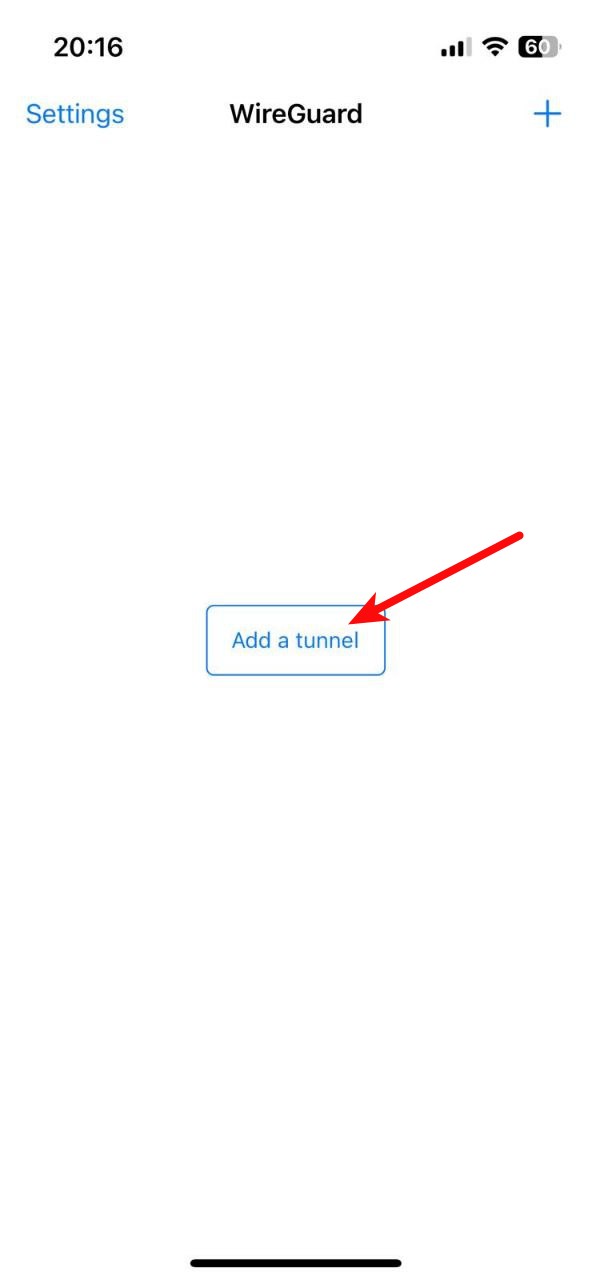
4 Click + button and point to downloaded client1.conf file.


