

Knowledgebase
Portal Home > Knowledgebase > How-to > Hosting > Other software > Mounting app package as a local drive
Mounting app package as a local drive
Linux
Our article is based on Ubuntu but it should be similar to any other distro.
SSHFS
Install sshfs package:
sudo apt update
sudo apt -y install sshfs
Now create a folder where you want to mount your app package with sshfs, we will do this in our HOME path:
mkdir -p ~/sshfs
Now you can mount it into ~/sshfs folder:
sshfs -o uid=$(id -u) -o gid=$(id -g) -o default_permissions user@server.host: ~/sshfs
Where user is your service username and server.host - your server hostname.
To unmount it, just type:
umount sshfs
WebDAV
Firstly you need to enable WebDAV like in our article WebDAV .
Now install davfs2 package:
sudo apt update
sudo apt -y install davfs2
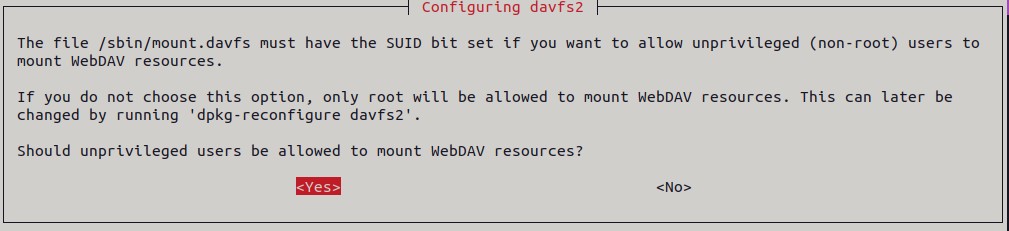
You need to allow other users to mount WebDAV like on the screen below.
If you missed it, you can change it with the command:
sudo dpkg-reconfigure davfs2
Create a folder where you want to mount your app package with WebDav, we will do this in our HOME path:
mkdir -p ~/webdav
Now add your user (in example below myuser) to davfs2 group:
sudo usermod -aG davfs2 myuser
You need to reboot the machine or log out and log in again, you can bypass it with the command below:
su - $USER
Add fstab entry (nano /etc/fstab) with the scheme below:
https://WebDAVURL /mount/path/ davfs noauto,user,rw 0 1
For example:
https://server1054.seedhost.eu/username/webdav /home/myuser/webdav davfs noauto,user,rw 0 1
Open ~/.davfs2/secrets and at the end of the file add a line with WebDAV URL, the username and the password in the following order:
webdav_url webdavusername webdavpassword
For example:
https://server1054.seedhost.eu/username/webdav user password
Set the correct permissions for ~/.davfs2/secrets
chmod 600 ~/.davfs2/secrets
You can mount it now:
mount webdav
If everything is OK you can access your webdav mount:
ls -la ~/webdav
To unmount it:
umount webdav
macOS
SSHFS
Download and install the OSXFuse and SSHFS packages as admin from here .
Start the terminal and create a folder where you want to mount it:
mkdir -p ~/sshfs
Now mount it into the folder created before:
sshfs user@server.host: ~/sshfs
Where user is your service username and server.host - your server hostname .
To unmount it:
umount webdav
WebDAV
Firstly you need to enable WebDAV like in our article WebDAV .
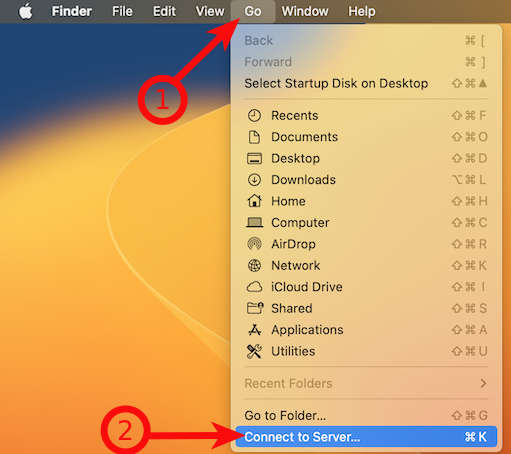
Open Finder -> Go -> Connect to Server.
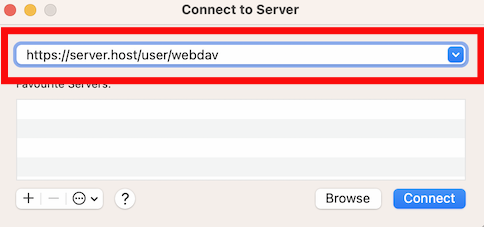
Put your WebDAV URL and click Connect.
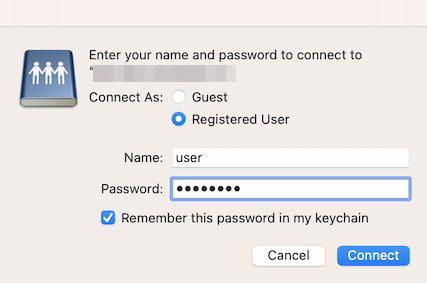
Now use Registered User and type your WebDAV username and password and Connect.
Now you can access your files.
Windows 10/11
SSHFS
To be able to use SSHFS on Windows, you need to install these 2 packages:
You can download and install them manually or you can install them via Windows Powershell with the following commands:
winget install -e --id "WinFsp.WinFsp"
winget install -e --id "SSHFS-Win.SSHFS-Win"
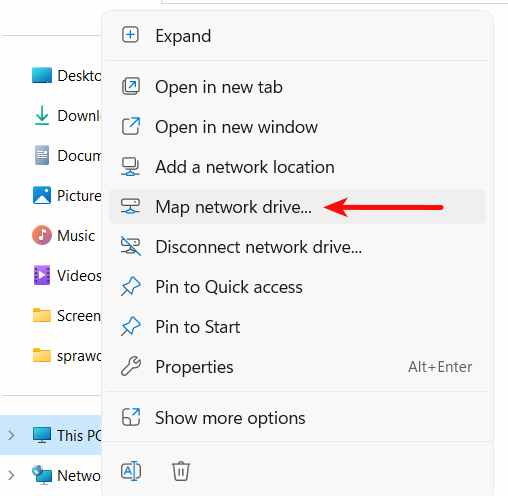
Now Open Windows Explorer -> right click on This PC -> Map network drive .
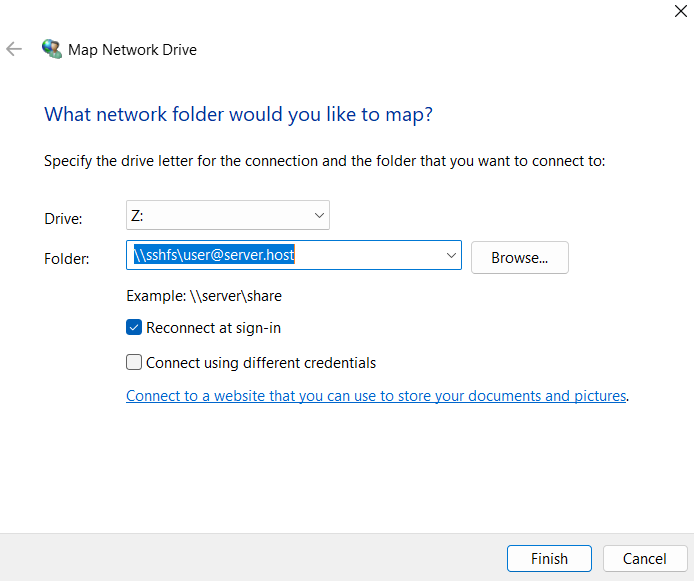
In Folder field type \\sshfs\user@server.host , where user is your service username and host - your server hostname. Click Finish.
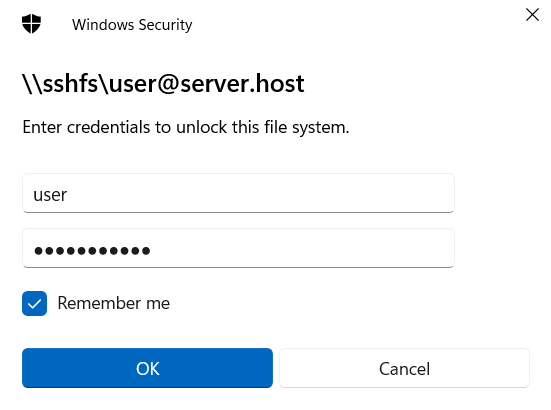
Now you will be asked to provide a password. Type it and click OK. You can tick Remember me so your password will be saved.
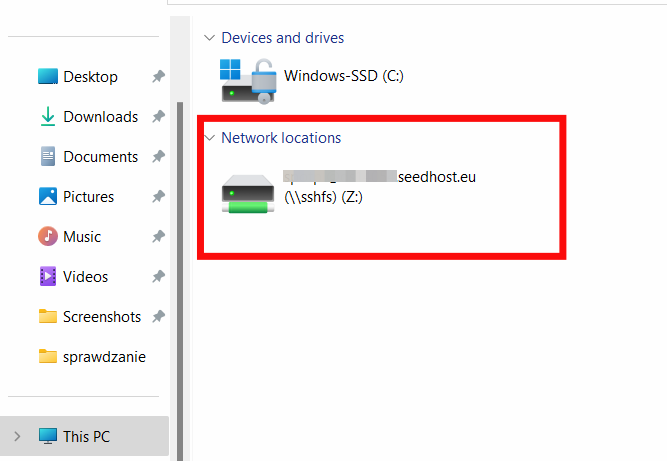
When it is mounted you can see it in Windows Explorer -> This PC under Network locations.
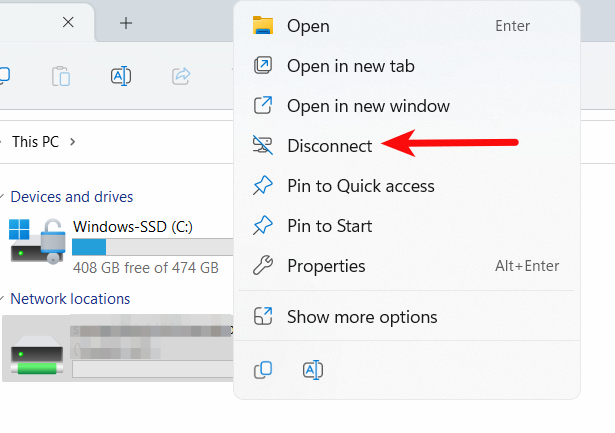
To unmount it, just right click on it and use Disconnect.
WebDAV
Firstly you need to enable WebDAV like in our article WebDAV .
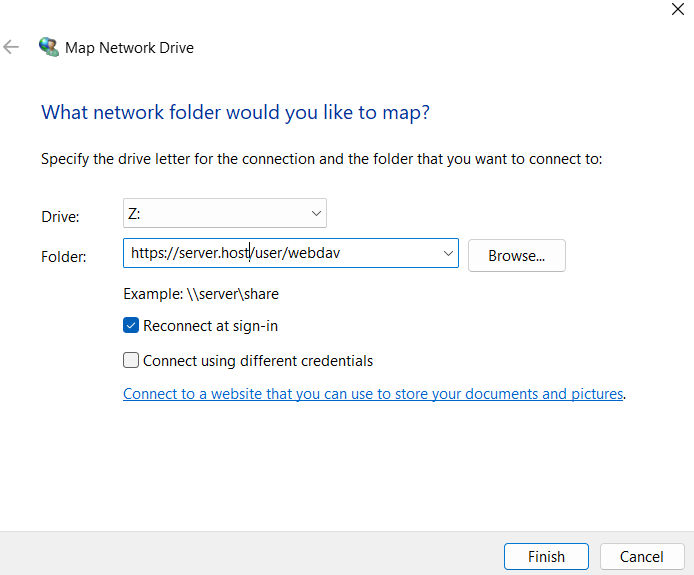
Open Windows Explorer -> right click on This PC -> Map network drive . In Folder field put your WebDAV URL and click Finish.
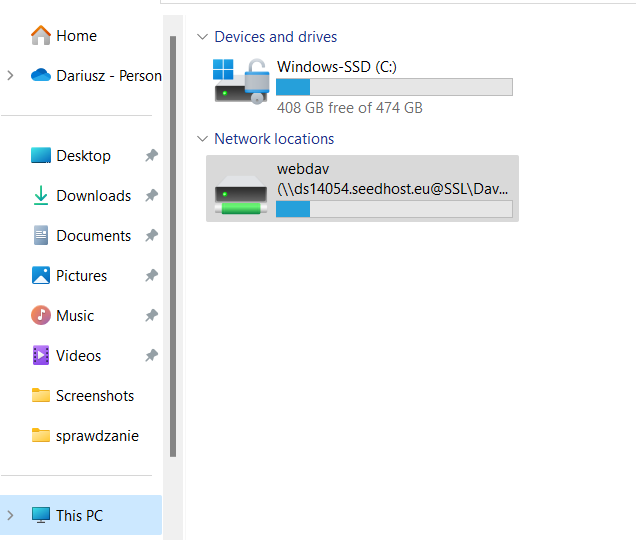
When it is mounted you can see it in Windows Explorer -> This PC under Network locations.
To umoount it, just right click on it and use Disconnect.
 Add to Favourites
  Print this Article
Also Read

Powered by WHMCompleteSolution
Scroll to top